
As an Amazon Associate, we earn a small commission from qualifying purchases — at no extra cost to you.
Learn What To Do After Orchid Flowers Fall Off, from trimming the spike to caring for roots and leaves, and help your orchid bloom again.
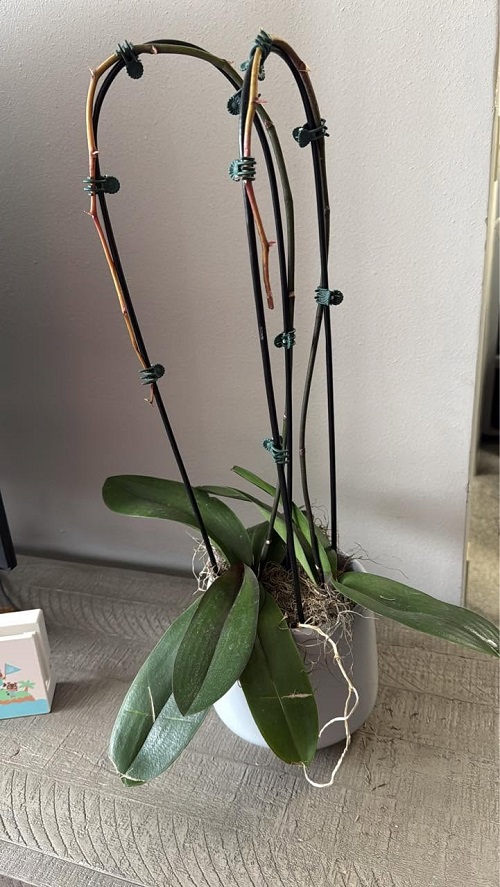
The last orchid flower has dropped, and now you are left staring at a bare flower spike. It is easy to think something went wrong. Usually, it didn’t. Orchid flowers naturally fade after they have finished blooming. The important thing now is What To Do After Orchid Flowers Fall Off. This is the time to check the plant, deal with the old flower spike, adjust its care if needed, and give it a chance to build up energy for another round of flowers.
What To Do After Orchid Flowers Fall Off
Want to build the perfect indoor plant setup? Check out this indoor gardening system that serious plant lovers swear by. You can also check our Amazon Storefront for all such gardening needs.
1. First, Check the Flower Spike
Don’t grab your scissors as soon as the last flower falls.
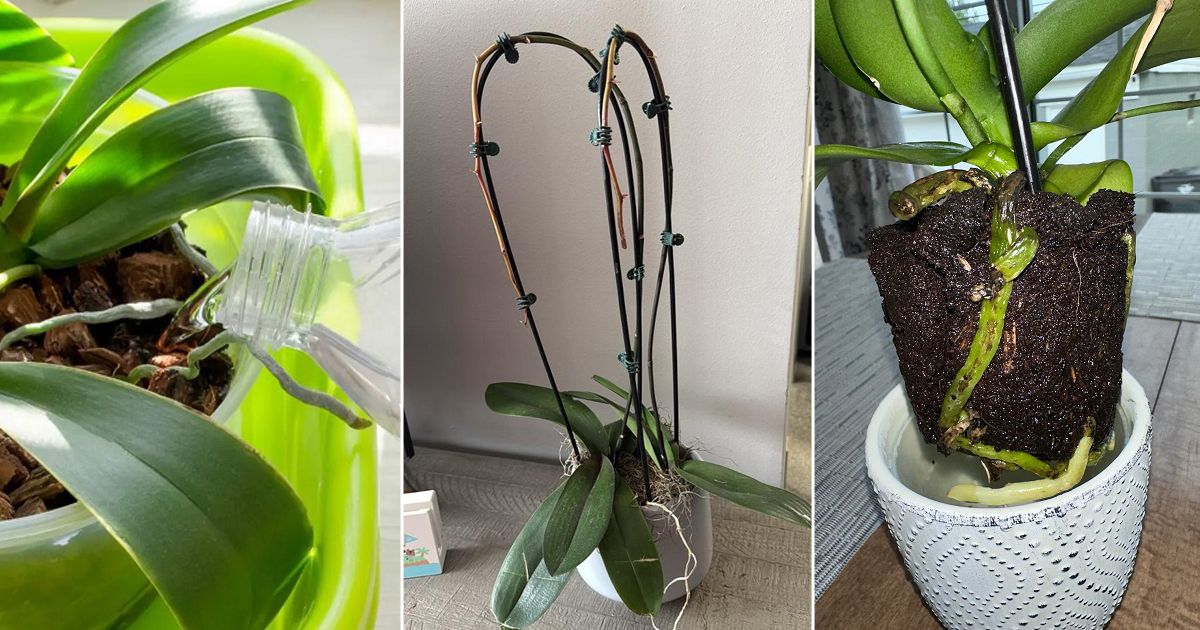
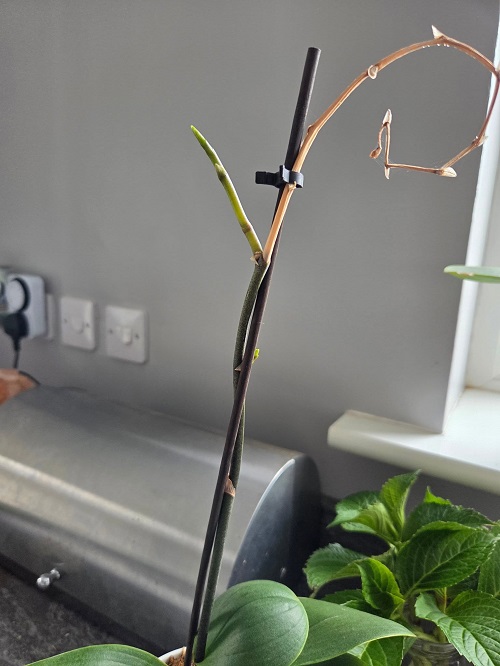
Look at the spike first. If it is still green, you have a couple of choices. You can leave it alone and see whether it produces another branch or flowers from one of its nodes. Some orchids can rebloom from an old green spike.
If the spike has turned yellow, brown, or completely dry, it is no longer useful to the plant. Use clean, sharp scissors to cut it back. A completely dry spike can usually be removed close to the base.
There is no need to cut a healthy green spike simply because the flowers are gone.
Looking for a pretty planter? Here is a self-watering pot that keeps your flower hydrated.
2. Take a Good Look at the Leaves
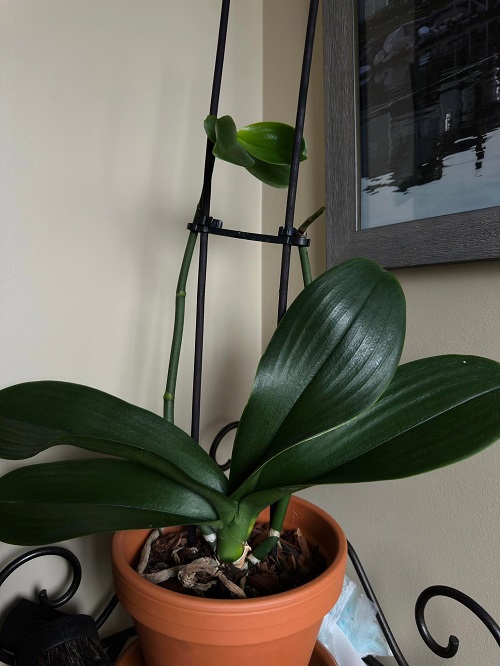
The flowers may be gone, but the leaves are still doing important work.
Healthy orchid leaves should feel fairly firm. They should not be extremely soft, limp, or covered with spreading brown or black patches.
If you notice yellow leaves, don’t immediately assume the orchid needs more water. Older leaves can naturally yellow and drop, while widespread yellowing can also happen when the plant stays too wet or does not receive enough light.
This is a good time to catch small problems before the orchid starts producing its next flower spike.
Use this organic neem oil to clean the leaves and avoid a pest attack!
3. Check the Roots Before You Water Again
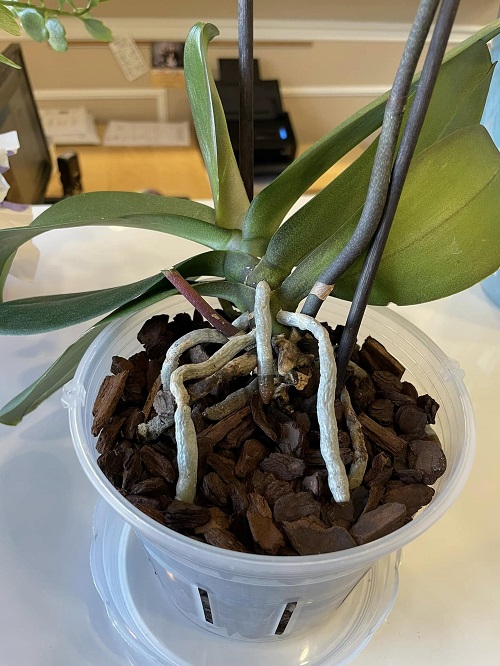
If your orchid is growing in a clear pot, checking the roots is especially easy.
Healthy roots should feel firm rather than mushy. Depending on their moisture level, they may look green, white, or silvery. Roots that are brown, black, soft, or collapsing deserve closer attention.
Don’t cut aerial roots just because they are sticking out of the pot. Those roots are normal. They are part of how orchids grow and take in moisture from their surroundings.
If several roots are rotting, the problem is more serious. In that case, the orchid may need fresh growing medium and removal of damaged roots.
Why don’t you get these clear pots? These are the best for potting your orchids.
4. Keep Watering, But Don’t Overdo It
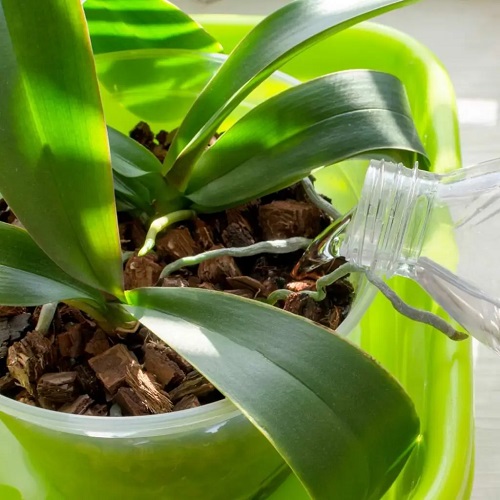
Your orchid still needs water after flowering.
This is one place where people often go wrong. Once the flowers disappear, they may either forget about the plant or keep watering it on the same schedule without checking the growing medium.
Instead, check the pot and growing medium before watering. Orchids generally do better when the roots get both moisture and air. A pot that stays constantly wet can encourage root problems.
When you water, let excess water drain completely. Don’t leave the pot sitting in water afterward.
How often you need to water depends on your home. A warm, dry room may require more frequent watering than a cool, humid one.
Here is a set of clay pots with the perfect drainage holes at the bottom.
5. Give Your Orchid Enough Light
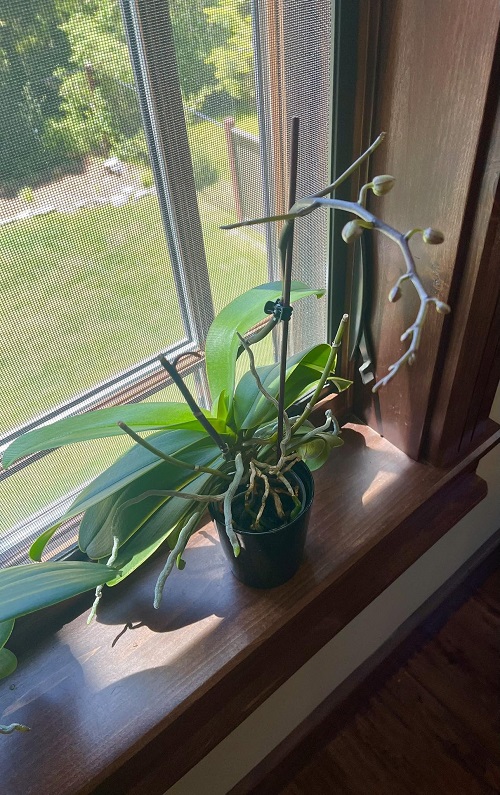
Don’t move your orchid into a dark corner just because it has stopped blooming.
The plant still needs light to grow leaves and roots and prepare for future flowering. Bright, indirect light is usually a good choice.
An east-facing window can provide gentle morning light. If your only option is a brighter window, a sheer curtain can help filter strong sunlight.
Too little light can make it difficult for an orchid to flower again. On the other hand, harsh direct sun can scorch the leaves.
The goal is steady, useful light rather than extreme conditions.
Look at these shades that you can use to cover your windows to avoid giving your plants too much direct light.
6. Keep It Away From Sudden Temperature Changes
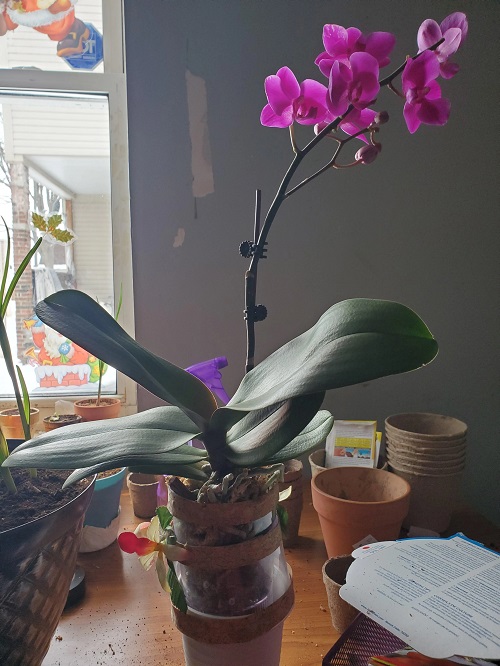
Orchids don’t always handle sudden changes well.
A plant sitting next to an air conditioner, heater, drafty window, or frequently opened exterior door can experience temperature swings. These changes can be especially troublesome when an orchid is trying to hold onto buds or flowers.
After flowering, keep the plant somewhere reasonably stable. You don’t need to create a perfect greenhouse environment. Just avoid placing it where hot or cold air blows directly onto it.
7. Don’t Forget About Humidity
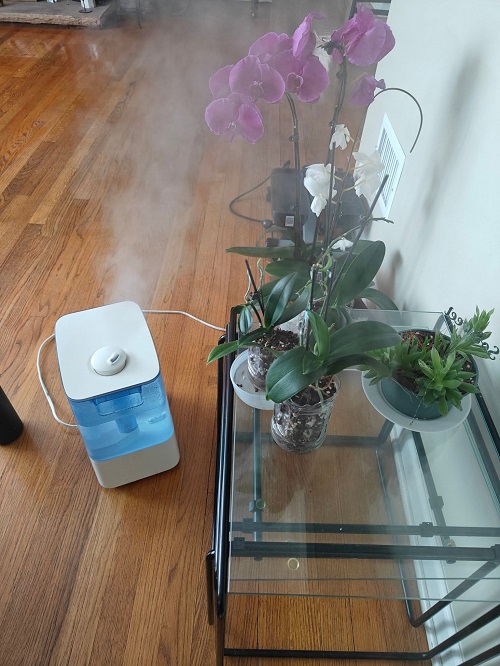
Dry indoor air can also cause trouble for orchids, particularly when the air inside your home becomes very dry.
You don’t need to keep the room dripping with moisture. Moderate humidity and good air movement are more useful than simply making the air as humid as possible.
If the air is very dry, a humidifier can help. Grouping plants can also raise humidity around them slightly.
If you use a humidity tray, keep the orchid pot above the water rather than allowing the bottom of the pot to sit in it.
Do not forget to get a humidifier that gives your plants the correct environment required for growth.
8. Think About Where You Keep the Orchid
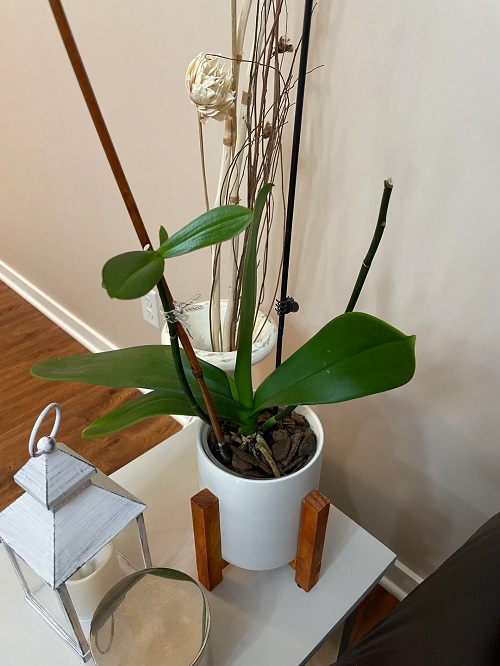
There is another small thing worth checking after the flowers fall: what is sitting around your orchid?
Ripening fruits such as apples and bananas release ethylene gas. Exposure to ethylene can speed up flower aging, so keeping an orchid right beside a fruit bowl isn’t ideal, particularly while it is blooming.
You also want some gentle air movement around the plant. Stale, stagnant air combined with wet conditions can create a better environment for fungal and bacterial problems.
A small fan can help if the air in the room is very still. Just don’t aim a strong stream of air directly at the orchid.
9. Is This a Good Time to Repot?
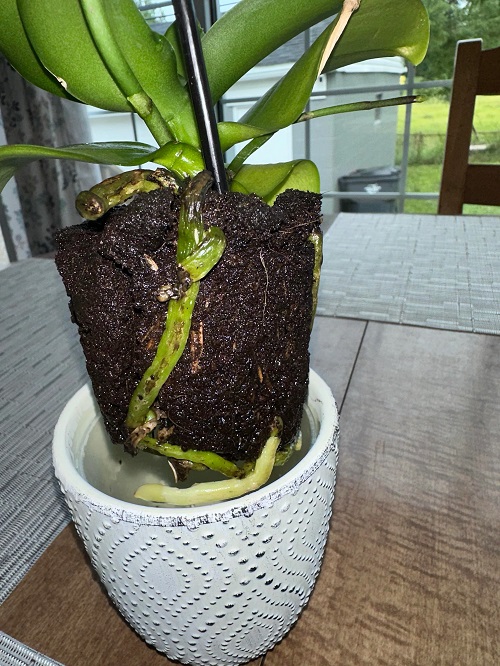
Sometimes it is.
You don’t need to repot every orchid after every flowering cycle. But if the bark has broken down, the potting mix stays wet for too long, the roots are crowded, or the medium no longer drains properly, the period after flowering can be a sensible time to repot.
Remove the old medium carefully and check the roots while you’re doing it. Cut away roots that are clearly dead or rotten with sterilized scissors.
Use a suitable orchid mix rather than ordinary potting soil. Orchids need air around their roots, and regular garden soil is usually too dense for them.
If the plant is healthy and the potting mix is still in good condition, leave it alone. Repotting simply because the flowers have fallen is unnecessary.
Check out this potting mix filled with nutrients that all your plants need.
10. Give It Time to Grow Again
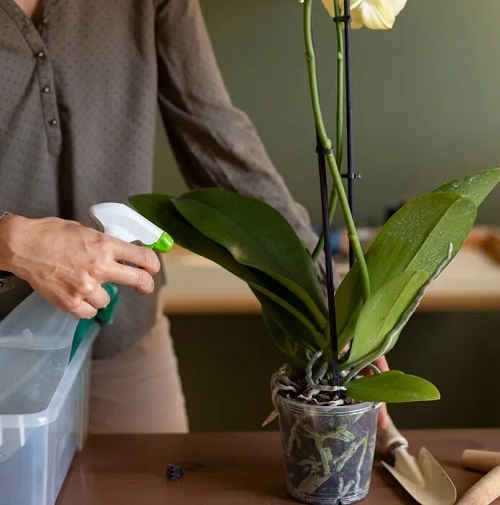
This is probably the hardest part of orchid care.
You may not see another flower spike right away.
After flowering, the plant can spend its time growing roots and leaves before it is ready to flower again. That quiet period doesn’t mean the orchid has stopped growing.
Keep its conditions steady. Continue appropriate watering and feeding during active growth, but don’t use extra fertilizer in the hope that it will force flowers.
More fertilizer doesn’t automatically mean more blooms. Too much can actually damage the roots.
11. Watch for the Next Flower Spike
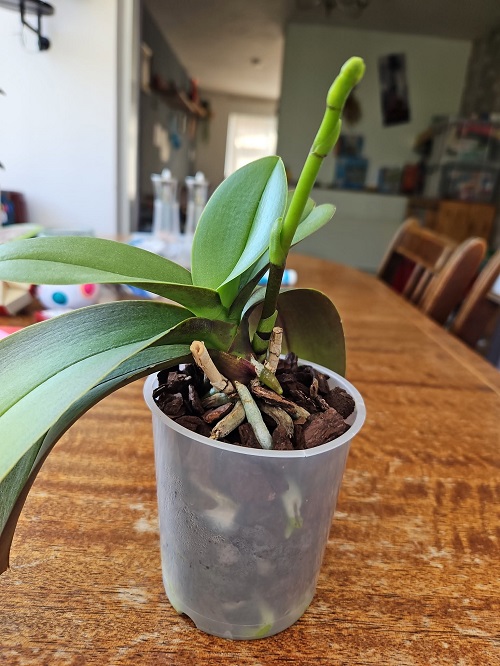
Eventually, you may notice a small new growth appearing from the base of the plant.
This is where things get exciting.
A new flower spike can initially be easy to confuse with a root. As it grows, though, its shape becomes easier to recognize. A new spike usually has a different, more flattened or pointed appearance than a typical root.
Once you see one, continue the same basic care. Avoid constantly moving the orchid or making sudden changes to its environment.
Try installing these grow lights in your home to make the growth of your plants quick and healthy.
12. What If the Flowers Fell Off Too Soon?
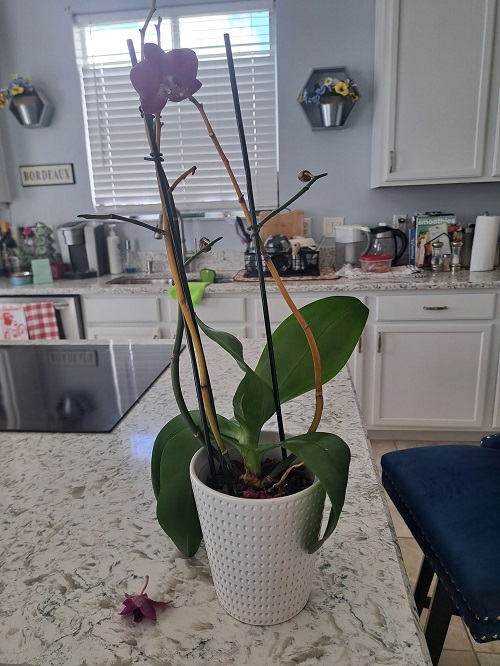
There is a difference between normal flower drop and flowers falling before they have had a chance to finish their bloom.
If the flowers lasted for a reasonable amount of time and gradually faded before dropping, the plant may simply have completed its blooming cycle.
But if buds dried up and dropped before opening, or flowers suddenly fell soon after you brought the orchid home, look for stress.
Sudden temperature changes, watering problems, low humidity, poor light, pests, and other environmental changes can all contribute to premature flower or bud drop.
In that situation, don’t just cut the spike and wait for another bloom. Look at the plant’s growing conditions and try to find what changed.
Get your hands on this book, How Not to Kill Your Houseplants, to become a better gardener.