
As an Amazon Associate, we earn a small commission from qualifying purchases — at no extra cost to you.
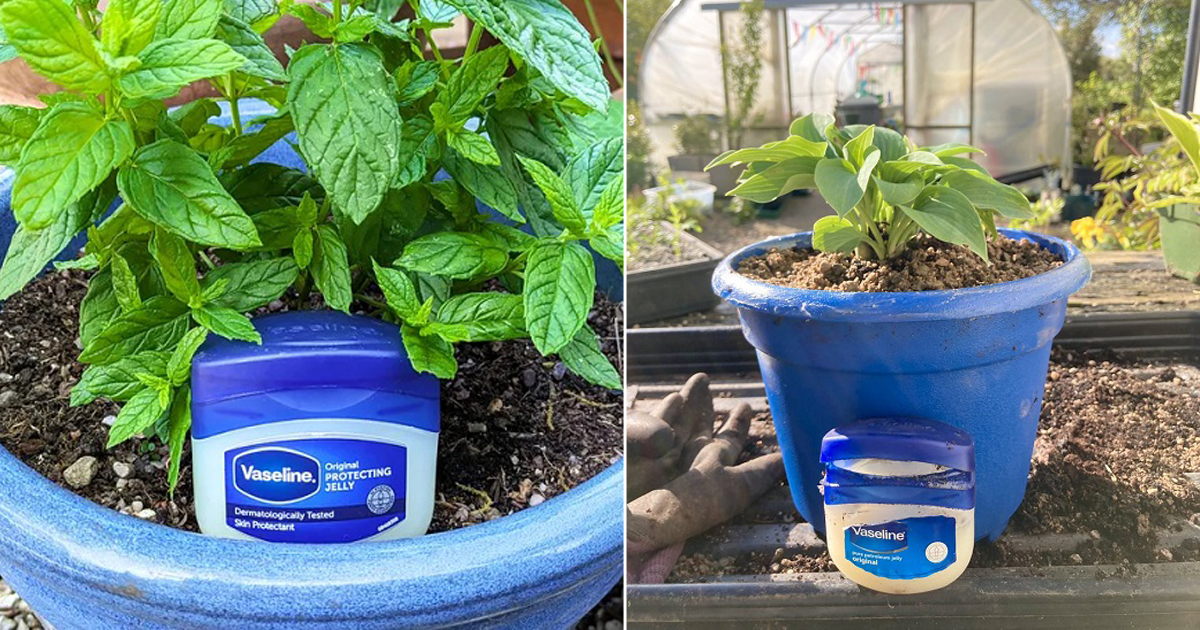
Thinking why gardeners put Vaseline on houseplants? Learn simple ways to use it as a barrier against pests this fall.
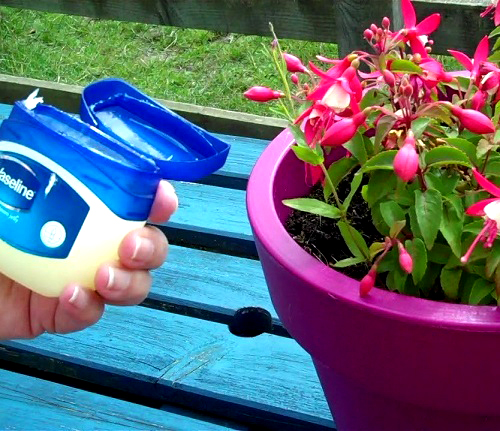
Every potted plant that spent summer outdoors may have picked up a few unwanted pests. Ants can hide near drainage holes, while earwigs and black vine weevils may stay around the pot. Once you bring plants indoors, these pests can become harder to manage. This is one reason Why Gardeners Put Vaseline on Houseplants when preparing them for fall. Petroleum jelly can create a sticky barrier that makes it harder for some crawling pests to reach your plants. But placement matters. Never spread Vaseline on leaves or other living plant tissue. A thick coating can interfere with gas exchange and transpiration, which may damage the leaves.
Where to Apply Vaseline on Houseplants
Get this gardening tool set for lush growth with minimal effort. Also, check our Amazon storefront for more garden supplies.
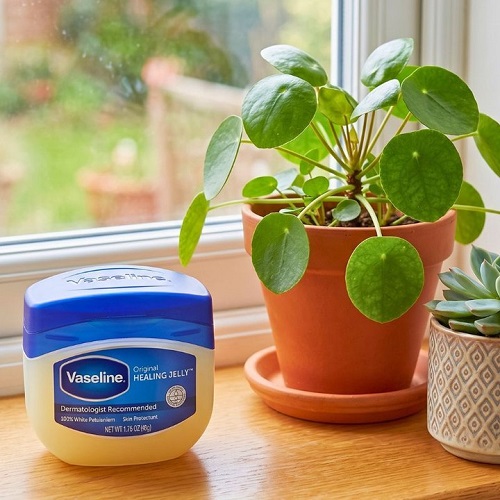
So where can you use it? The safest place is on the plant pot or container, especially around the rim or other areas where crawling pests may try to cross. You can also apply it to the surface the pot sits on if needed.
If you have trailing plants such as pothos, keep the vines away from the treated area. This simple step lets you use the sticky barrier without coating the plant itself.
Before you start using these Vaseline barriers, take a few minutes to clean your pots. Dust, dirt, patio grime, and loose soil can stop petroleum jelly from sticking properly to plastic or terracotta.
Wipe the outside of each pot with a damp cloth and let it dry fully. The surface should be clean and dry before you apply the jelly. This will help you spread a thin, even layer that stays in place.
Once your pots are clean and ready, you can set up your Vaseline barriers. They can help stop crawling pests such as vine weevils and earwigs from reaching your plants. A few minutes of preparation now can make it easier to keep unwanted pests from coming indoors with your plants. Here are some simple ways to use Vaseline this fall.
Use plain, unscented petroleum jelly to create a thin barrier around plant pots, saucers, and other suitable surfaces.
Ways to Use Vaseline on Houseplants
1. Surround Saucers and Pot Feet
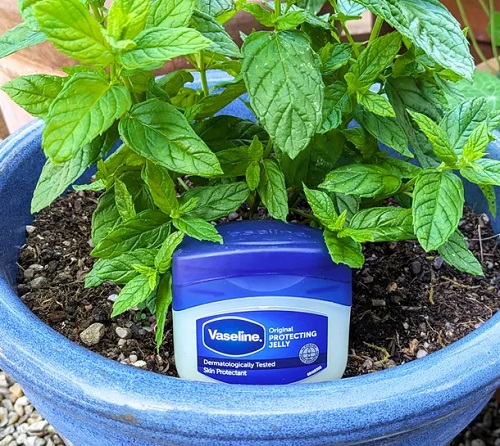
Pests hiding around the bottom of a pot can be just as troublesome as those crawling up the sides. During summer, ants may settle in the potting mix, while earwigs and slugs can hide under drainage saucers or around pot feet. A little petroleum jelly can help create a barrier around these areas.
Apply a thin ring of Vaseline around the outside edge of the drainage saucer and around the underside of pot feet. This can make it harder for crawling pests to get past these areas. Slugs and snails may also avoid the sticky surface.
Do not put petroleum jelly over the drainage holes in the pot. The holes need to stay open so excess water can drain away. Blocking them can lead to poor drainage and waterlogged soil.
When to apply: Apply the jelly to the saucer edges and pot feet while the plants are still outside. This gives you a chance to deal with hidden pests before you carry the pots indoors.
Choose a sturdy pot with drainage holes to make repotting easier and help excess water escape.
2. Coat Plant Stand Legs and Rolling Caddies
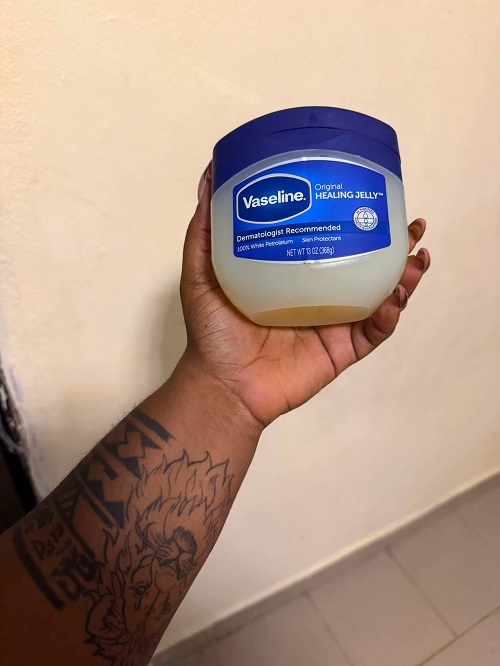
Pests that get inside your home may not stay on the same plant. Ants can move from one pot to another along shelves, while sowbugs and beetles can climb plant stands, windowsills, and shelves. A jelly barrier around the pot may not stop them from taking another route.
One simple option is to apply a thin band of petroleum jelly around each leg of your plant stand or caddy. Place it low enough to stay out of the way. This creates another barrier that crawling pests have to cross before they can reach your plants.
Petroleum jelly works well on smooth surfaces such as metal, painted wood, and sealed resin. If you need a plant caddy, a smooth plastic or resin one can work well for this purpose.
Be careful with unfinished wood, ceramic, and porous stone because these surfaces can absorb oily products. For wooden legs, you can first wrap a strip of painter’s tape around the area and then apply the jelly over the tape. Wipe away any excess jelly so it does not collect dust or make the floor slippery.
When to apply: Apply the jelly to the stand or caddy outdoors on the morning you plan to bring the plants inside. Do this before placing the clean pots on the stand. This can help block crawling pests before they make it across the doorway.
A sturdy plant caddy makes it easier to move larger pots outdoors for cleaning, inspection, and seasonal pest checks.
3. Ring Outer Pot Rims and Bases
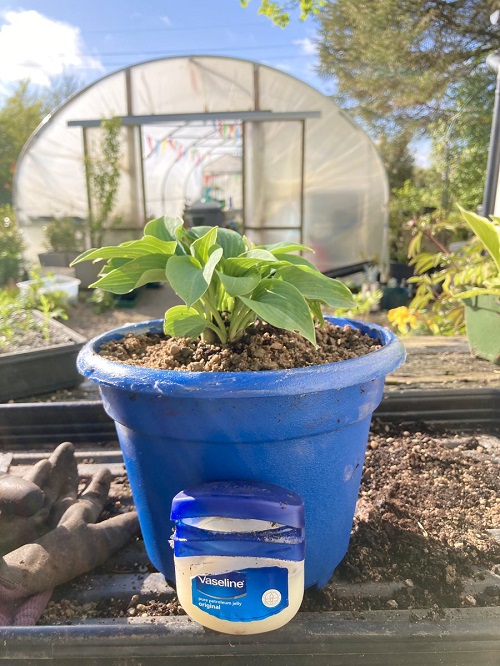
Many crawling insects use the sides of plant pots to reach the leaves. Black vine weevils may climb up the pot at night, while earwigs can hide under the rim during the day. A continuous band of petroleum jelly around the outside of the pot can create a sticky barrier that makes it harder for these pests to climb.
Apply a band about 1–2 inches (2.5–5 cm) wide around the outside rim of the pot. For large pots that sit outdoors, you can also add another band near the bottom. This can help stop ants and other crawling insects before they reach the top.
Clean the pot first so the jelly can stick properly. Dust and old soil can make it easier for insects to cross the barrier. Apply a thin, even layer rather than a thick smear. A thick layer may slide down when the weather is warm.
Make sure the band forms a complete circle with no gaps. Check it once a week after bringing the plants indoors. Dust and debris can collect on the jelly over time and reduce its effectiveness. If that happens, clean the area and apply a fresh layer.
If you are wondering about scented petroleum jelly, it is better to keep things simple. For plant pots, choose plain, unscented petroleum jelly. Scented products are not necessary for this job, especially when you are preparing plants to come indoors.
When to apply: Put the jelly barrier around the pot 2–3 days before bringing it indoors. This gives you time to spot and remove any pests that try to cross it while the plants are still outside.
4. Make a Quarantine Zone
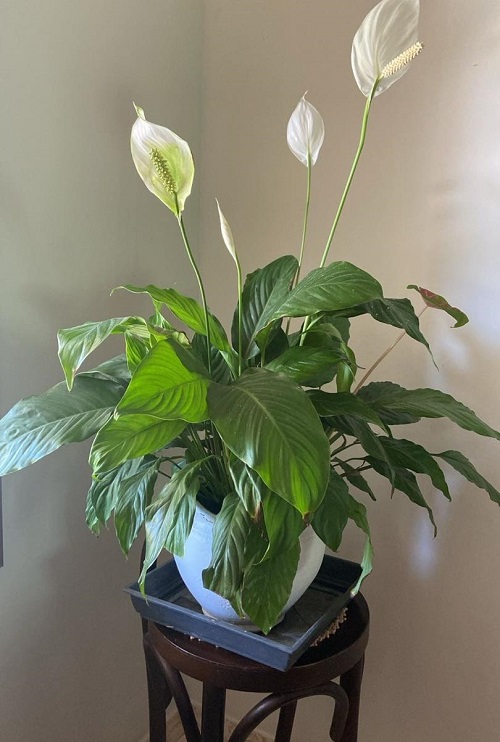
Tiny pest eggs and young scale insects can hide in thick foliage, so it is a good idea to keep plants separate when you first bring them indoors. Set up a quarantine area for about 3–4 weeks. This can be a spare table, sideboard, or another clear space away from your other houseplants.
You can add a simple Vaseline barrier around the legs of the table or the edges of the tray holding the plants. This creates another line of defense and can help stop crawling pests from reaching nearby plants.
Check the plants once a week during quarantine. Look closely under the leaves and around the stems, where pests can easily hide. A magnifying glass can help you spot small insects or eggs.
If you find pests such as scale or spider mites, keeping the plants separated makes them easier to treat without putting your other plants at risk. The Vaseline barrier can also help limit crawling pests from moving to nearby shelves.
When to apply: Set up the Vaseline barrier as soon as you bring the plants indoors. Keep the plants separated for the full 3–4-week quarantine period.
A small handheld magnifying glass makes it easier to check leaf undersides, stems, and other hiding spots during your plant inspection.
5. Prepare DIY Yellow Sticky Traps
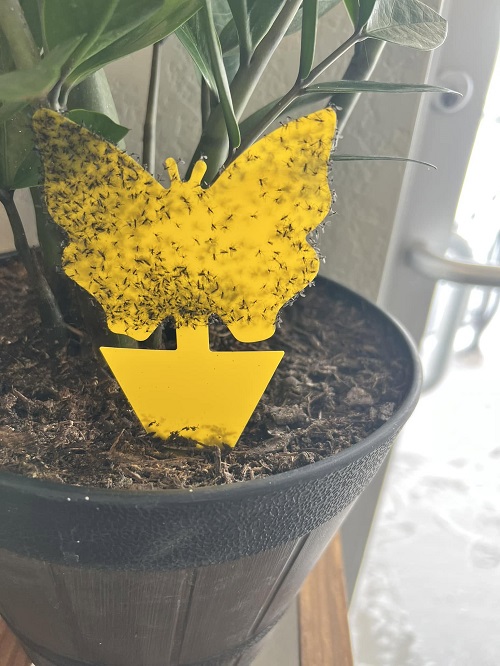
Petroleum jelly barriers around pots can help stop crawling pests, but flying insects need a different method. Fungus gnats and whiteflies are often attracted to yellow, which is why many sticky traps are yellow.
You can make a simple sticky trap at home. Cut a piece of bright yellow card into a square and spread a thin layer of Vaseline on one side. Attach the card to a bamboo skewer and place it in the pot. A piece about 4 inches (10 cm) wide is large enough for a small DIY trap.
Place the trap just above the soil, where fungus gnats are most likely to fly. Check it regularly and replace the card when it becomes covered with insects or dust. The sticky card helps catch adult insects, but it will not remove larvae living in the soil. For fungus gnats, combine the traps with careful watering so the potting mix does not stay constantly wet.
When to apply: Put the yellow sticky cards in the pots as soon as you bring the plants indoors. This gives you a chance to catch adult fungus gnats as they start flying around in the warm indoor environment.
Ready-made yellow sticky traps are an easy option for monitoring fungus gnats and other small flying pests around your houseplants.
Important Pre-Jelly Checks
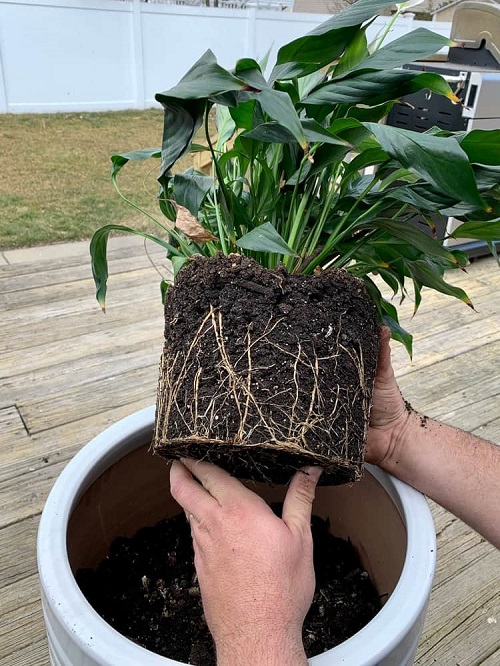
Before you set up the petroleum jelly barriers, take some time to inspect and clean your plants. A little work now can save you from dealing with a much bigger pest problem later.
Gently take each plant out of its pot and check the outside of the root ball. Look for pale, C-shaped weevil grubs, ants, or slugs hiding near the drainage holes. If you find a plant with a serious pest problem, repot it in fresh potting soil.
Next, fill a bucket with lukewarm water. Place the pot in the water, keeping the water about 1 inch (2.5 cm) below the rim. Leave it there for about 15 minutes. This can encourage ants, earwigs, and other pests hiding near the bottom of the pot to come out through the drainage holes.
Let the pot drain completely after soaking. While the plant is still outside, rinse the leaves with a gentle stream of water. Pay extra attention to the undersides of the leaves, where aphids and spider mites can hide. Let the leaves dry before bringing the plant indoors.
Doing this along with your petroleum jelly barriers can help reduce the number of pests that come inside with your plants. A little preparation now is much easier than dealing with an indoor pest problem later.
Check out this houseplant care book on Amazon for practical tips you can use.