
As an Amazon Associate, we earn a small commission from qualifying purchases — at no extra cost to you.
Is your peace lily ready for cooler days? Follow these simple October care tips to keep it healthy through fall and winter.
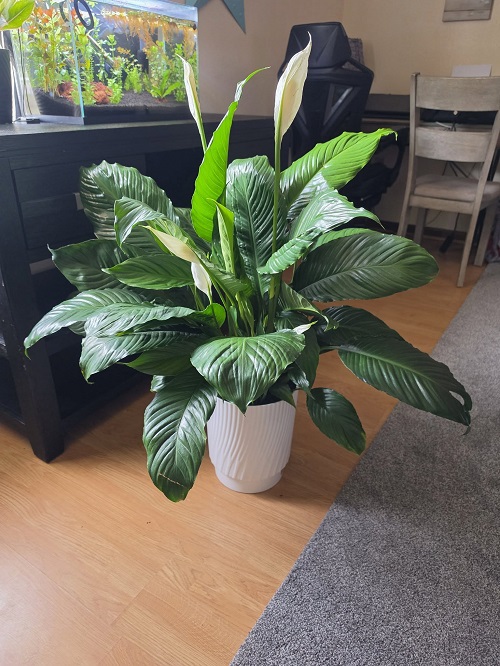
A peace lily sitting in the same corner where it stayed all summer may not be getting enough light now. October is a good time to check its spot and make a few small changes.
Winter problems are often blamed on indoor heating, but in October, less light can be the bigger issue. The days are getting shorter, and the sun is lower in the sky. A spot that was bright enough in July may now be much darker. As a result, your peace lily may grow more slowly, and its soil may take longer to dry after watering.
Good peace lily care this month is mainly about giving the plant enough light and making a few simple adjustments. You may also need to check the roots and clean up anything that is no longer healthy. If you fed your plant for the last time in September, you can now focus on its light, watering, and overall condition. Most of these jobs are quick, but they can help your peace lily stay healthy through the cooler months.
Peace Lily Care in October to Keep It Lush and Encourage More Blooms
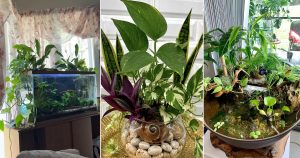
See this complete indoor garden setup and turn your plant corner into a year-round growing station. Give a quick view at our Amazon Storefront for more such essential needs.
Keep the Leaves Away from Cold Glass
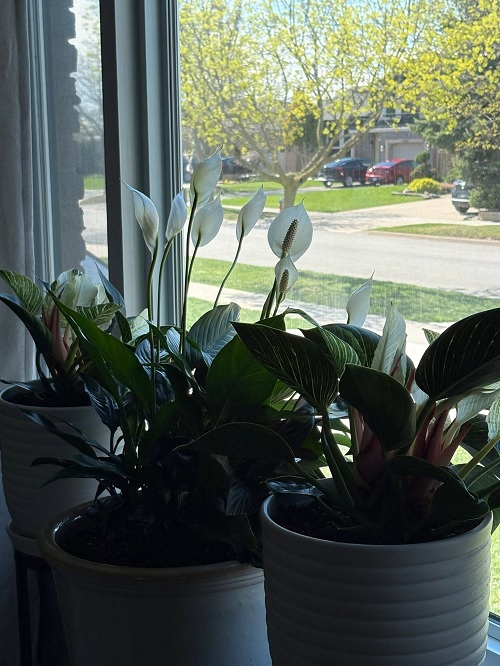
Black leaf tips after a sudden cold spell are often caused by cold damage, not a disease. The damage usually appears first on the tips and edges of older leaves before moving inward. Growth can also slow when temperatures drop to 50°F (10°C) or lower, even before you see any damage.
A leaf touching a cold window on a 40°F (4°C) night can become much colder than the rest of the room. Move your peace lily a few inches away from the glass, especially at night. Keep it away from exterior doors too, as cold air can rush in whenever the door opens. Heating vents are also not a good spot because hot, dry air can stress the leaves.
I like using the TempPro TP50 digital thermometer, available on Amazon, to check the temperature near my plants. It records both high and low temperatures, so leaving it beside the pot overnight can show you how cold the area really gets.
Check the temperature around your peace lily with this handy digital thermometer.
Flush the Pot and Skip Fertilizer for Now
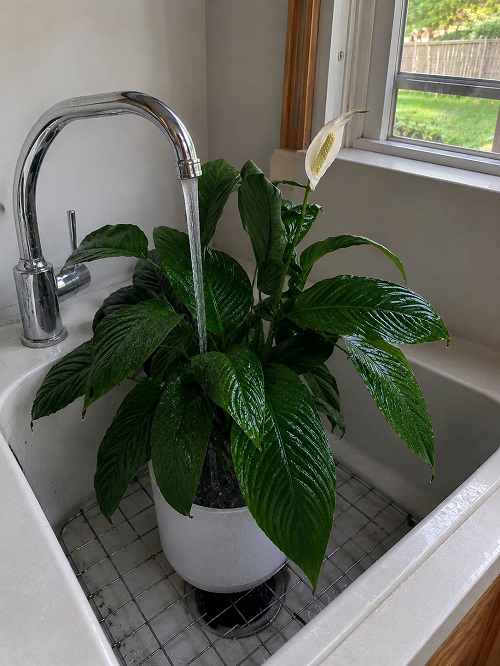
If you see a white, crusty layer on the soil or around the pot rim, it is usually a buildup of mineral salts. Fertilizer can leave these salts behind, and hard tap water can cause the same problem as the water dries. Peace lilies do not handle too much salt well, so brown and crispy leaf tips can be an early sign of buildup.
Start by gently scraping away the crust. Remove no more than about ¼ inch (6 mm) of the top layer of potting mix. Then place the pot in a sink or tub and slowly pour water through the soil. Let about twice the pot’s volume of water drain through the bottom. For a 6-inch (15 cm) pot, this is about 10 cups (2.4 L) of water.
It is best to flush your peace lily early in fall, before you start using the heat regularly. This gives the potting mix time to dry afterward. Once you have flushed the pot, stop fertilizing until new growth appears in spring. Continue watering only when the potting mix feels dry.
A simple moisture meter can help you check how wet the potting mix is before watering again.
Check on Fungus Gnats Regularly
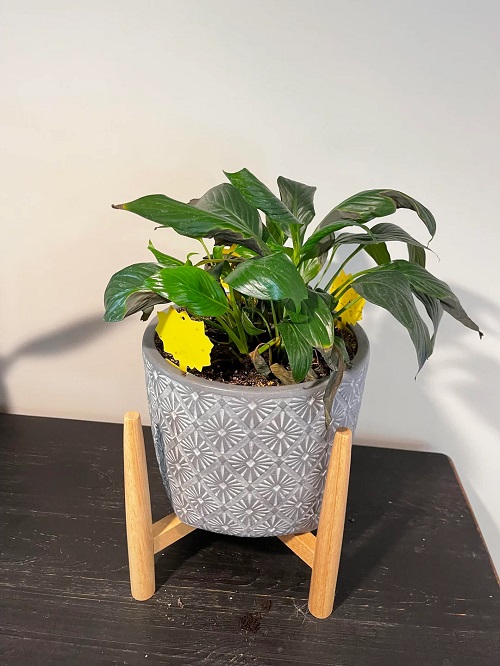
Tiny dark flies that rise from the pot when you move it are usually fungus gnats (Bradysia spp.), not fruit flies. The adult flies are mostly a nuisance, but their larvae can be a problem. They live in the top 1–2 inches (2.5–5 cm) of damp potting mix and feed on decaying organic matter. They can also damage small roots. In cooler rooms, the soil stays wet longer, which creates a good environment for fungus gnats.
Let the top inch (2.5 cm) of soil dry out between waterings. This can help break their life cycle. You can also place Expert Gardener Plant Insect Sticky Traps from Walmart near the edge of the pot. The traps catch adult gnats and can help you see how serious the problem is.
Keeping the soil drier and using bottom watering are good ways to control fungus gnats over time. A simple plastic tray can work for bottom watering, but the Ebristar bottom watering tray from Amazon is useful because you can adjust its height.
You can also check for larvae with a simple potato test. Press a ¼-inch (6 mm) slice of raw potato into the potting mix. Leave it for a day or two, then lift it and check underneath for small larvae.
Seeing tiny flies around your peace lily? Try these yellow sticky traps to catch adult fungus gnats.
Keep It Closer to the Light
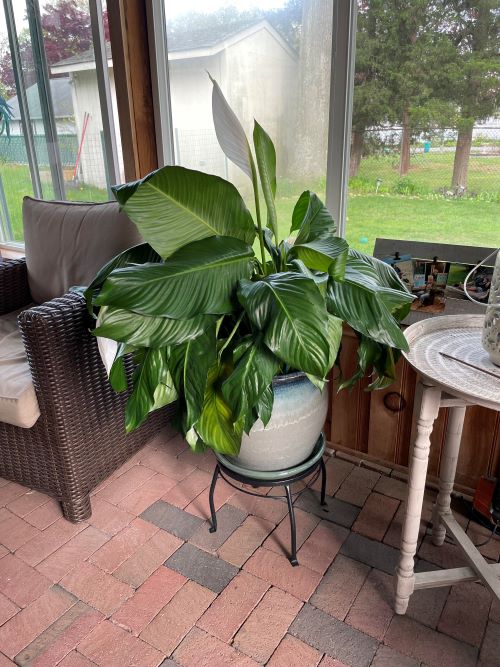
Peace lilies (Spathiphyllum spp.) are known for handling low light, and they can do it well. However, low light is better for survival than healthy growth. If your peace lily stays in a dark spot through winter, it may produce smaller leaves on long, weak stems. An east-facing window that gave enough light in summer may not be bright enough now. You may need to move it closer to a south-facing window.
October sunlight is not usually as strong as the summer sun, so leaf scorch is less likely. Still, it is better to keep the plant about 3 feet (1 m) away from a bright south-facing window. Turn the pot a quarter turn every week or two so the plant grows evenly instead of leaning toward the light.
Don’t worry if your peace lily has no flowers in October. It is normal for flowering to slow down, and many peace lilies bloom at different times from winter through late summer.
A raised plant stand can help position the peace lily closer to a suitable window while keeping it off a cold floor.
Install a Grow Light for Dark Rooms
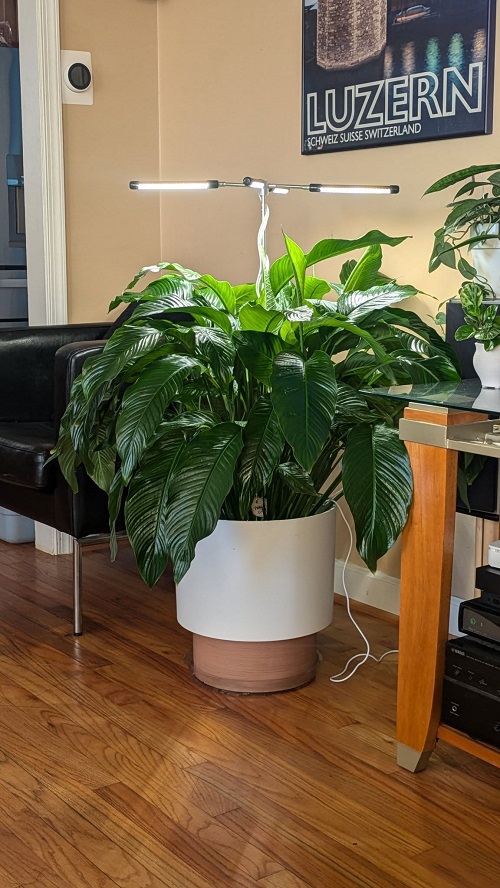
Not every home has a bright south-facing window available. If your peace lily is not getting enough natural light, a grow light can help. Foliage plants often grow well with about 12 to 16 hours of light each day during the darker months.
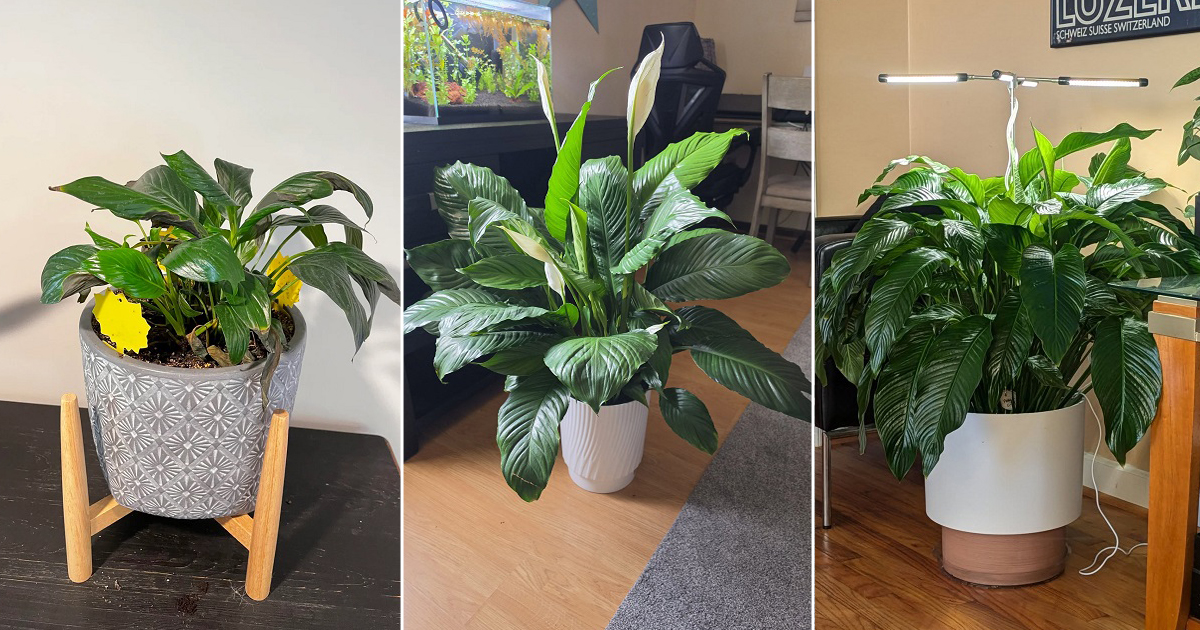
Setting up a grow light is simple. A [grow light] such as this Sansi pot-clip LED grow light on Amazon, can clip onto the edge of the pot and has a timer that turns it off after 12 hours.
Start by placing the light a little farther from the leaves than you think you need. After a few weeks, check the new growth. If the new leaves are still small, move the light a little closer. If the leaves look pale or faded, the light may be too close.