As an Amazon Associate, we earn a small commission from qualifying purchases — at no extra cost to you.
Learn the Secrets to Keep Oxalis Bushy and Full with simple tips for thicker leaves, healthy growth, and a fuller plant indoors or outside.
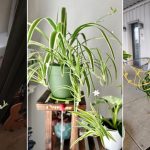
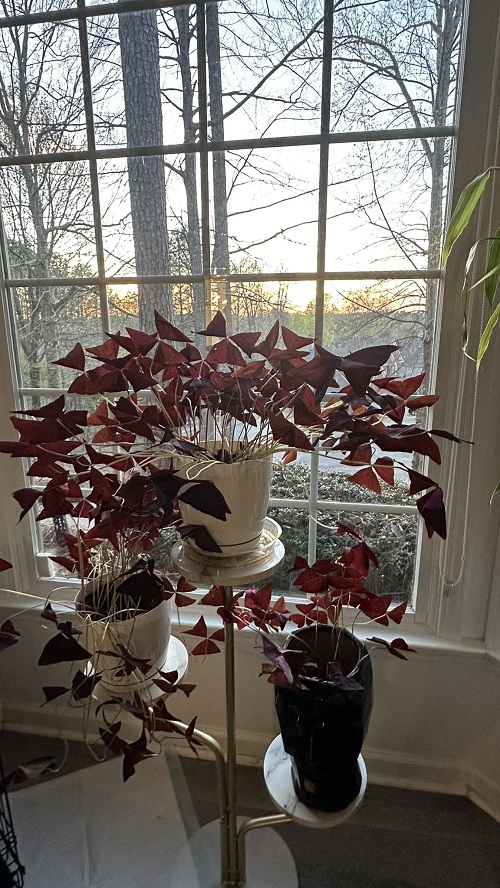
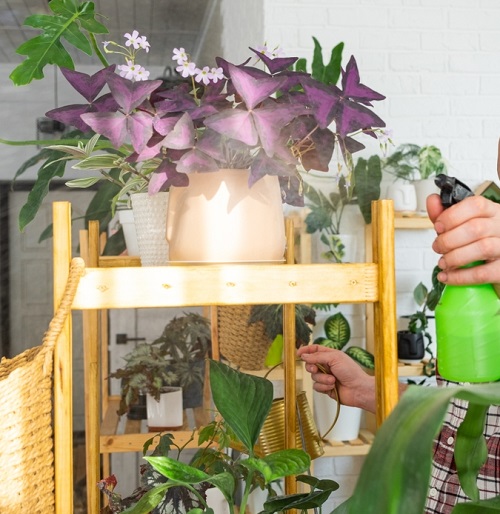
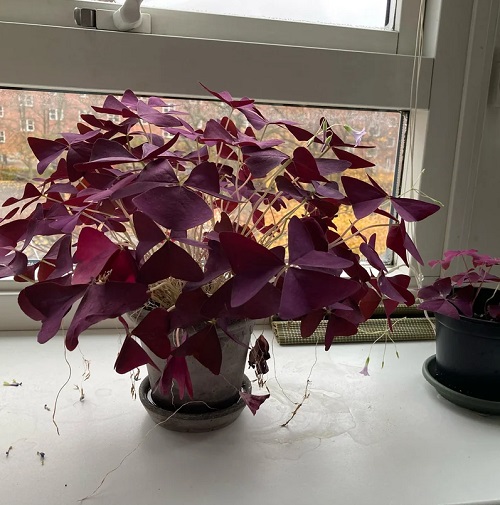
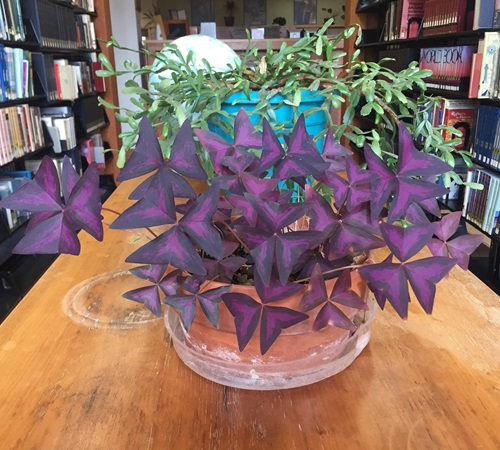
Oxalis plants are small plants with long stems and attractive leaves that often look like clover or butterfly wings. Depending on the variety, the leaves may have three to five parts with a small notch in the center. One interesting feature of oxalis is that the leaves open during the day and fold closed at night. A popular variety called Oxalis triangularis, also known as the shamrock plant, is often sold in garden centers around St. Patrick’s Day in March. These plants look beautiful when they grow thick, healthy, and full of colorful leaves. Explore the Secrets to Keep Oxalis Bushy and Full with this post and have a lush and attractive plant for a long time both indoors and outdoors.
Secrets to Keep Oxalis Bushy and Full
1. Give Oxalis the Right Amount of Light
The amount of sunlight oxalis needs depends on the type of plant. Tropical varieties that grow in USDA zones 9 to 10 can handle more direct sunlight. Most types grown in zones 5 to 8 grow best in bright indirect morning light. All oxalis plants benefit from shade in the afternoon. Too much hot sun can weaken the plant and slow its growth.
2. Water the Plant Carefully
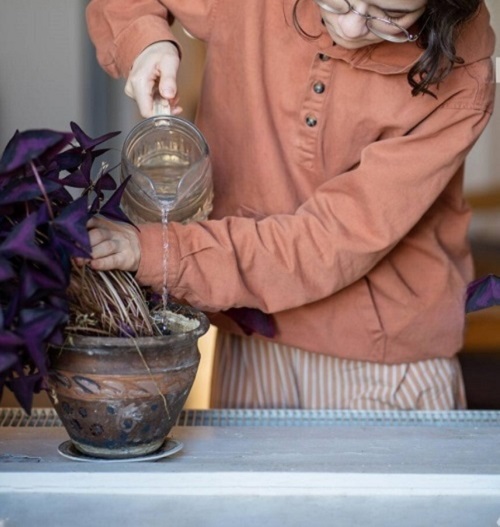
Oxalis grows best when the soil stays slightly dry rather than too wet. Soggy soil can quickly damage the plant. Water it every 1 to 2 weeks, but during very hot weather, tropical varieties may need water more often. Most oxalis plants, whether grown indoors or in the garden, go dormant in late summer or early autumn. During this resting period, stop watering because wet soil can rot the resting bulbs. Start watering again when new growth appears in late winter or early spring.
3. Use Loose and Well-Draining Soil
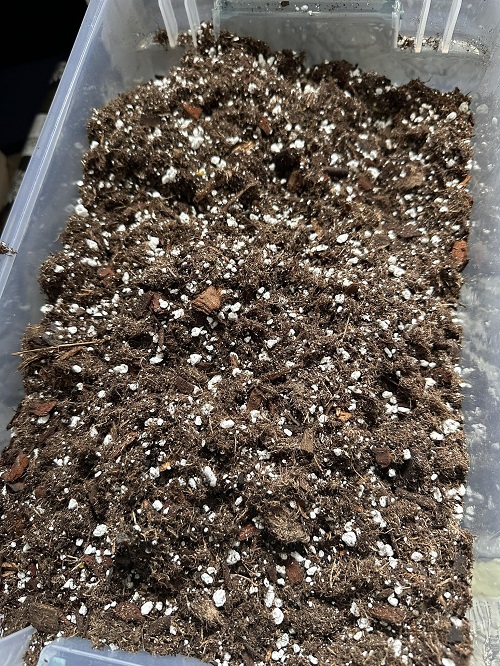
Plant oxalis in rich, well-draining soil with a slightly acidic pH level. For garden plants, mix compost into the soil to improve growth. Indoor oxalis plants grow well in regular potting soil mixed with a little sand or grit to help excess water drain easily.
4. Pinch Back Long Stems
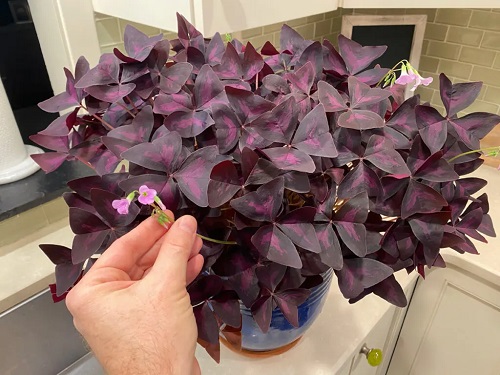
Pinching the stems helps oxalis become thick and bushy. When you notice long stems growing taller than the rest, trim or pinch the tips gently. This encourages the plant to produce new side shoots instead of one tall stem. More side shoots mean more leaves and a fuller appearance. Regular trimming also keeps the plant neat and balanced. Always use clean scissors while pruning the plant.
5. Feed the Plant During Active Growth
Oxalis grows best in soil mixed with compost and organic nutrients. You can also use a slow-release fertilizer like 10-10-10 or 5-10-10 at the beginning of the growing season. For indoor oxalis plants, feed them once a month with a diluted liquid houseplant fertilizer. Stop fertilizing all oxalis plants during their dormant period.
6. Keep the Temperature Comfortable
The best temperature and humidity for oxalis depend on the type of plant. Tropical varieties can handle more heat than other types. Most oxalis plants, including indoor ones, grow well in temperatures between 60°F and 75°F.
Tropical indoor varieties may need extra humidity to stay healthy. Most oxalis plants do not tolerate frost well. Their leaves may turn brown and die when temperatures drop near 50°F. In cold areas, you may need to dig up and store the bulbs during winter for protection.
7. Remove Dead Leaves and Flowers
After flowering, many oxalis plants go dormant in late summer or early autumn. Remove any leaves that have turned brown and dried up. Also remove faded flowers by cutting the entire flower stem from the base of the plant.
8. Understand the Dormancy Period
In cooler areas, oxalis plants growing outdoors in pots should be brought inside when night temperatures fall below 50°F. Keep the pots in a cool place like an unheated basement or garage and let the plants go dormant. Remove dead leaves and stop watering and fertilizing during this time.
For garden plants that can survive winter in your area, cut the plant back to ground level in autumn. If the plant cannot survive winter outdoors in your climate, dig up the bulbs in autumn. Store them in slightly moist sphagnum moss in a cool and dark place until spring planting time.
Indoor oxalis plants also need a rest period of one to three months. After the leaves dry up, place the pot in a cool and dark room. Do not water or fertilize the plant during dormancy. Once the resting period ends, move the plant back to bright indirect light and start normal care again.
9. Protect Oxalis From Pests

Oxalis can attract pests like spider mites and leafminers that damage the leaves and affect the plant’s appearance. You can use neem oil to help prevent these pests. If the problem becomes serious, use a pesticide made specifically for leafminers.
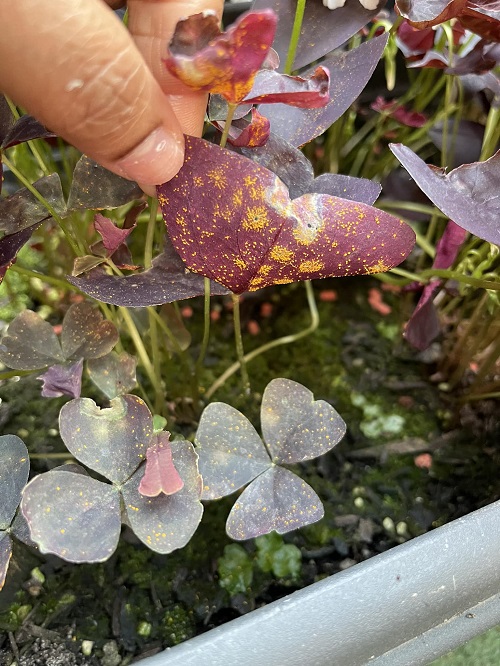
It can also suffer from fungal diseases such as powdery mildew, leaf spots, and rust. These problems can usually be treated with a suitable fungicide.
10. Divide Crowded Bulbs
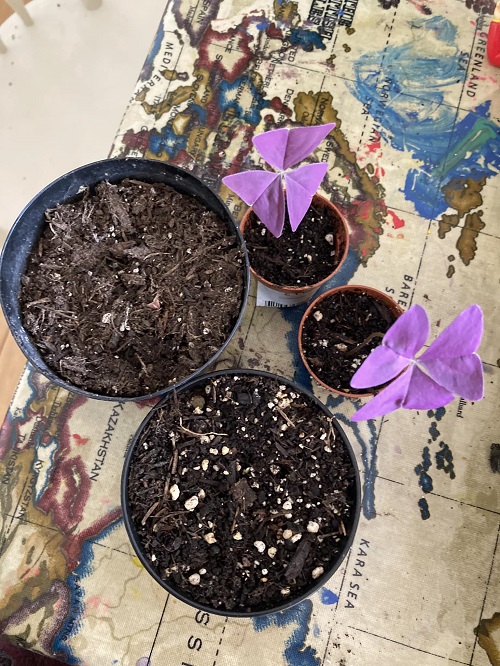
Oxalis grows from small bulbs that multiply over time. When too many bulbs crowd the pot, the plant may stop growing well. Dividing the bulbs every few years helps improve airflow and root space. Replant healthy bulbs into fresh soil and water lightly after planting. This encourages vigorous new growth and helps the plant become fuller again.
11 Turn the Pot Every Two Days
Oxalis reacts very quickly to light direction. If one side gets more light, the stems lean and stretch unevenly. Turning the pot every two days helps the leaves grow evenly from all sides. This creates a rounded and fuller appearance without extra pruning. It also prevents weak growth on the darker side of the plant.
12. Use Shallow Pots Instead of Deep Pots
Most oxalis varieties have shallow root systems. Deep containers hold moisture far below the roots, which can lead to weak growth and soggy soil. A shallow and wide pot helps the bulbs spread naturally and produce more leaf clusters. This small change often makes the plant look thicker in a short time. It also improves airflow around the roots and reduces the risk of rot.