As an Amazon Associate, we earn a small commission from qualifying purchases — at no extra cost to you.
Read out the different Ways to Make Alocasia Look Bigger and Healthier with simple care and easy growing tips.
If your plant looks small or weak, these Ways to Make Alocasia Look Bigger and Healthier can help. With the right light, watering, feeding, and humidity, your alocasia can grow larger leaves and stronger stems. Simple care changes can make a big difference and keep your plant looking full, fresh, and healthy indoors.
Ways to Make Alocasia Look Bigger and Healthier
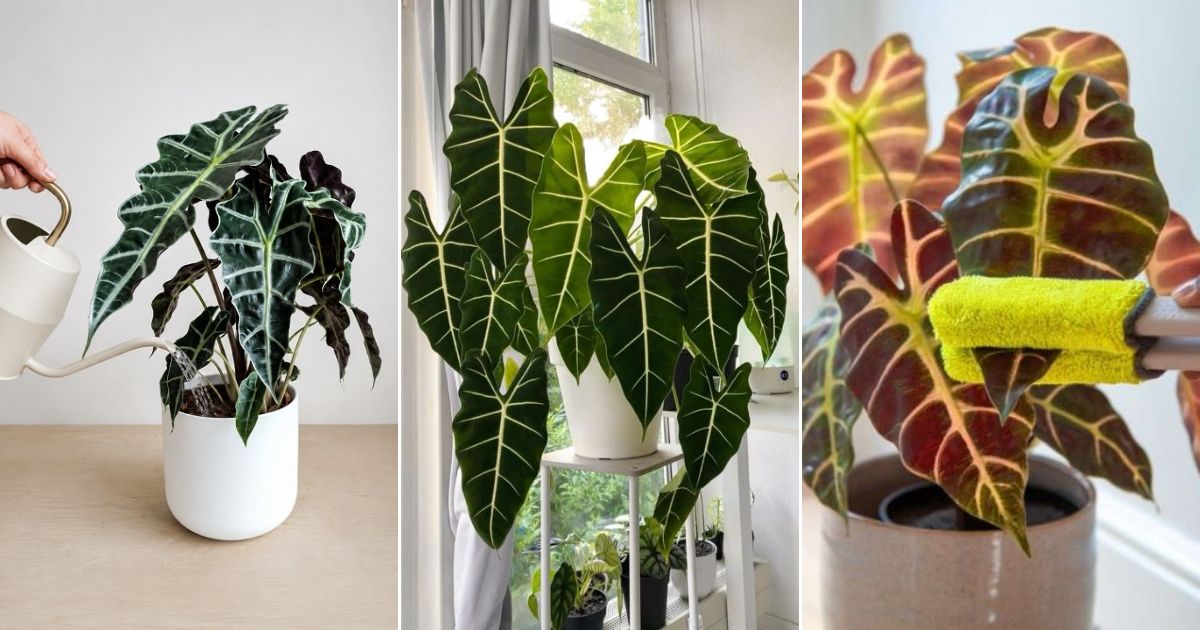
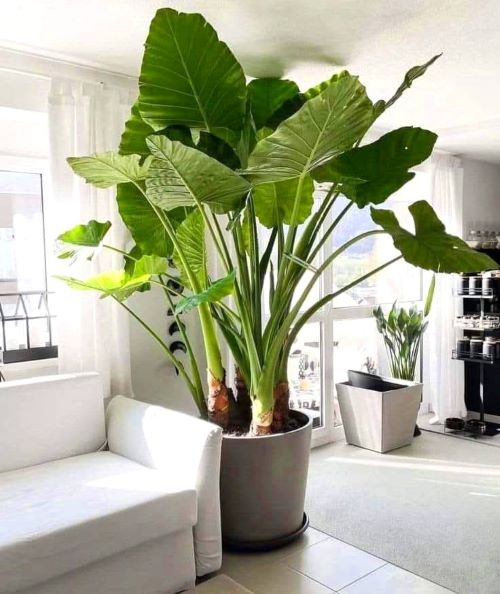
1. Give Your Alocasia Bright Indirect Light
Place alocasia near an east- or west-facing window with bright, indirect light when growing it indoors. Outdoors, keep it in a partly shaded spot. Different alocasia varieties need different amounts of light, and some can handle full direct sun.
2. Water the Plant the Right Way
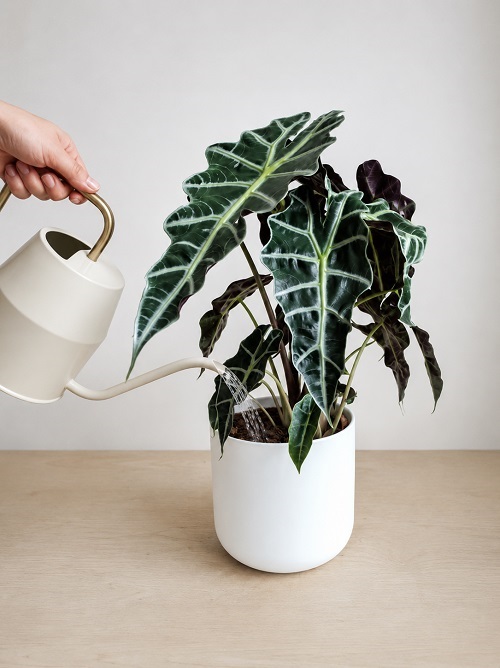
Alocasias like regular watering, but let the top few inches of soil dry slightly before watering again. This helps keep the soil moist without making it too wet. Soggy soil can cause fungal problems and root rot.
The plant also needs less water during winter when it is not actively growing.
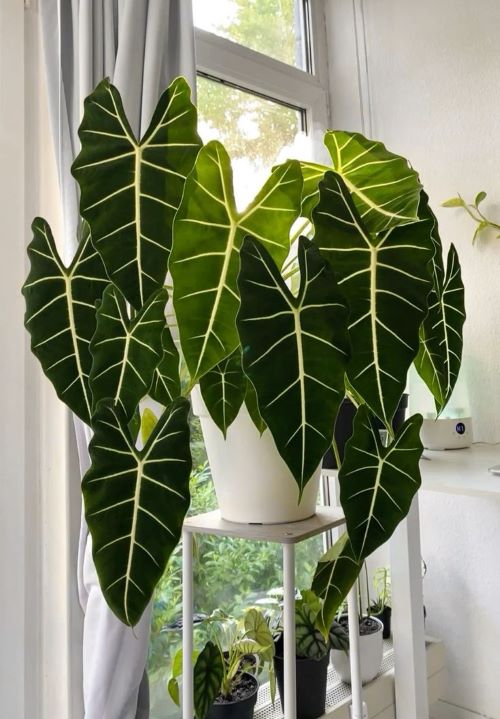
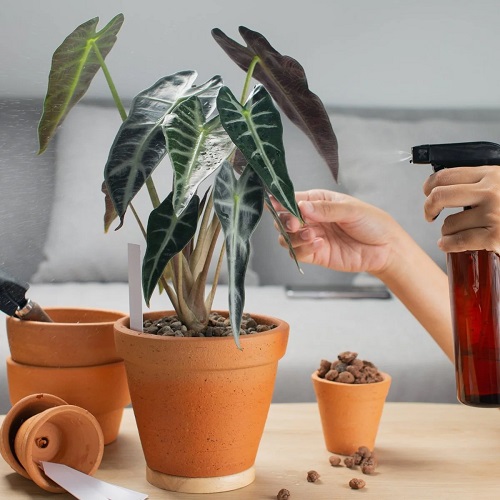
3. Increase Humidity Around the Plant
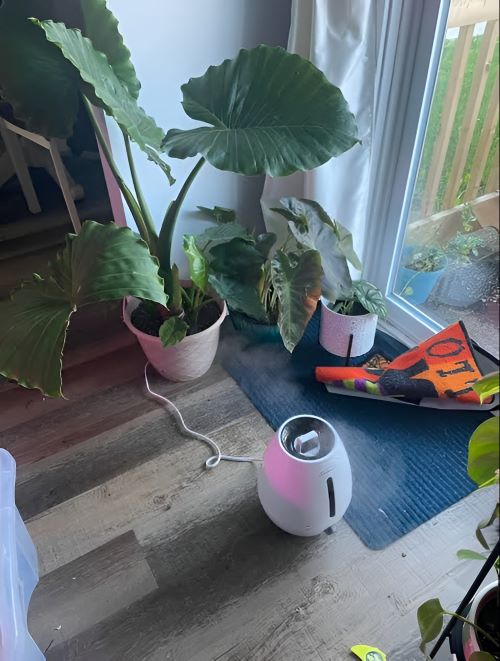
They grow best in warm and humid conditions, similar to their natural environment. To increase humidity, place the plant on a tray with pebbles and water or keep a humidifier nearby.
Alocasias do not grow well in temperatures below 60°F
4. Use Rich and Well-Draining Soil

Grow alocasia in a well-draining, loose soil. The potting mix has to be slightly acidic with a pH between 5.5 and 6.5. You can use a regular peat-based potting mix or a special mix made for aroid plants.
Note: It is essential to enhance the soil drainage by amending the mix with perlite or orchid bark.
5. Feed the Plant During the Growing Season
Large alocasias need regular feeding to grow well. During the growing season, use a balanced houseplant fertilizer like 20-20-20 once or twice a month in diluted liquid form, or use a slow-release granular fertilizer every six weeks to two months.
Do not fertilize your alocasia during winter when the plant is dormant.
6. Keep the Leaves Clean
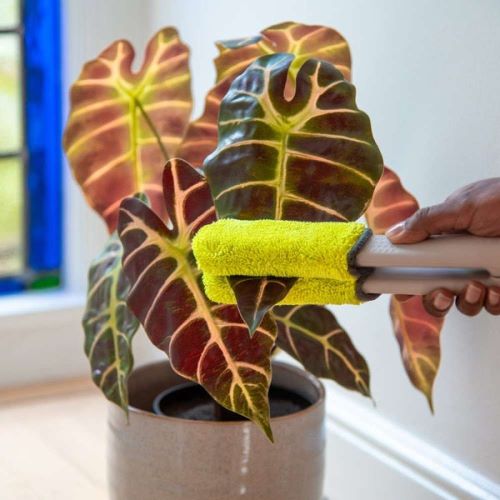
Dust on the leaves blocks light and makes the plant look dull. Wipe the leaves gently with a soft damp cloth every few weeks. Clean leaves absorb light better and help the plant photosynthesize properly. Avoid using leaf shine products because they may clog the surface of the leaves. Regular cleaning also helps you notice pests or damage early before the problem becomes serious.
7. Repot When the Plant Outgrowing the Pots
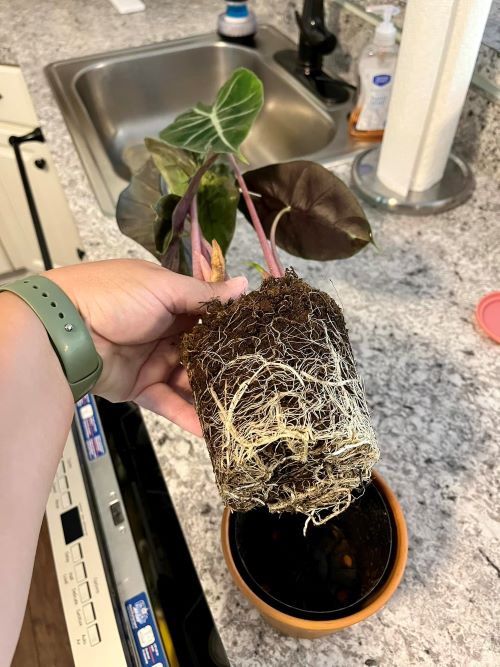
Use a pot with large drainage holes for alocasia so extra water can drain out easily. Clay pots allow better airflow to the roots and soil, while plastic or glazed ceramic pots help keep the soil evenly moist. Heavy clay pots are also good for tall plants because they are less likely to tip over.
Alocasias grow quickly and can handle being slightly root-bound for some time. Repot the plant when it starts outgrowing its pot. The best time to repot is during spring or summer when the plant is actively growing.
Small alocasia varieties may need repotting every 12 to 18 months. Choose a new pot that is 1 to 2 inches wider than the current one. Larger plants usually need repotting every 18 months to 2 years. For these, choose a pot that is 2 to 4 inches wider than the old pot.
8. Remove Damaged or Yellow Leaves
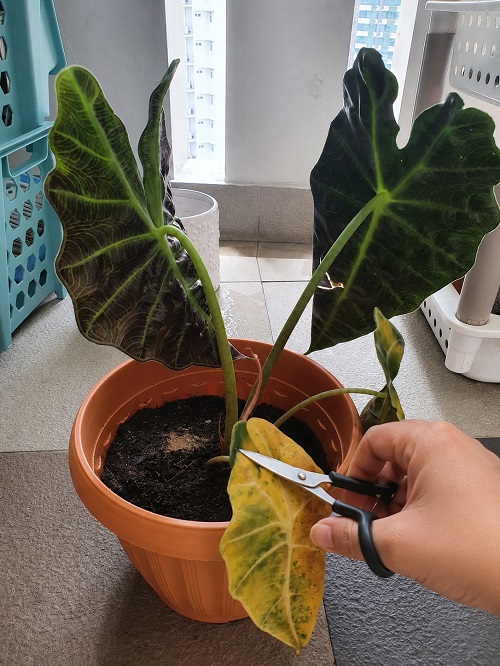
Prune your alocasia only to remove damaged, dead, or dying leaves. Use clean and sharp scissors or pruning shears to cut the stem at the base of the plant. The best time to prune alocasia is during spring or summer when the plant is actively growing.